Student Enrollment
Enroll students into batches individually or in bulk via CSV upload. Each enrollment tracks status (Active, Inactive, Dropped) and enrollment date.
Video Walkthrough
Accessing Enrollments
- Navigate to Academic Management → Batches
- Click on a batch row to open the detail panel
- Switch to the Enrollments tab
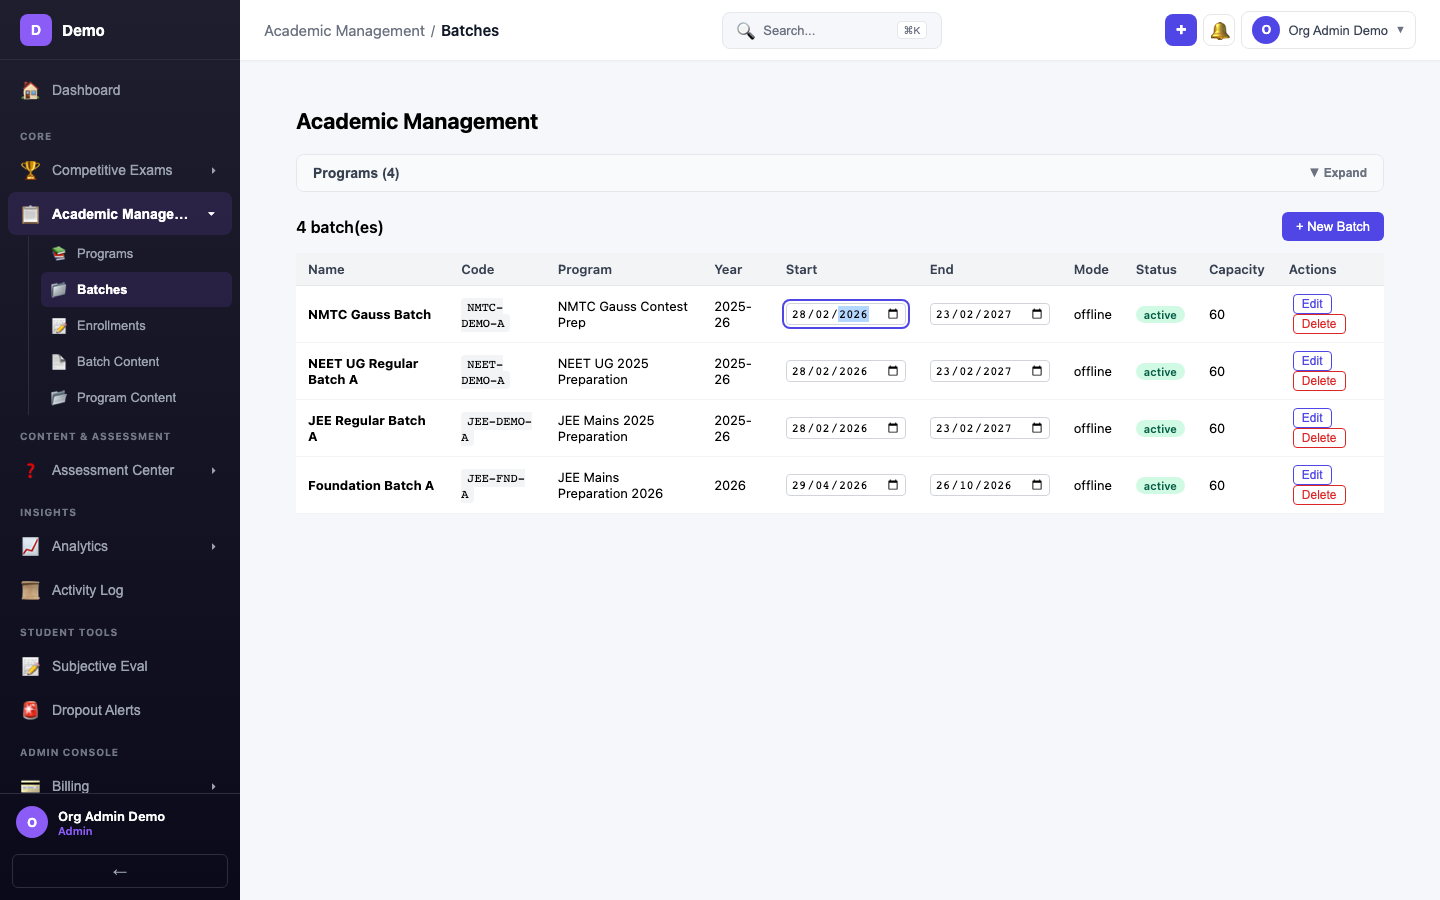
Enrollment Tab
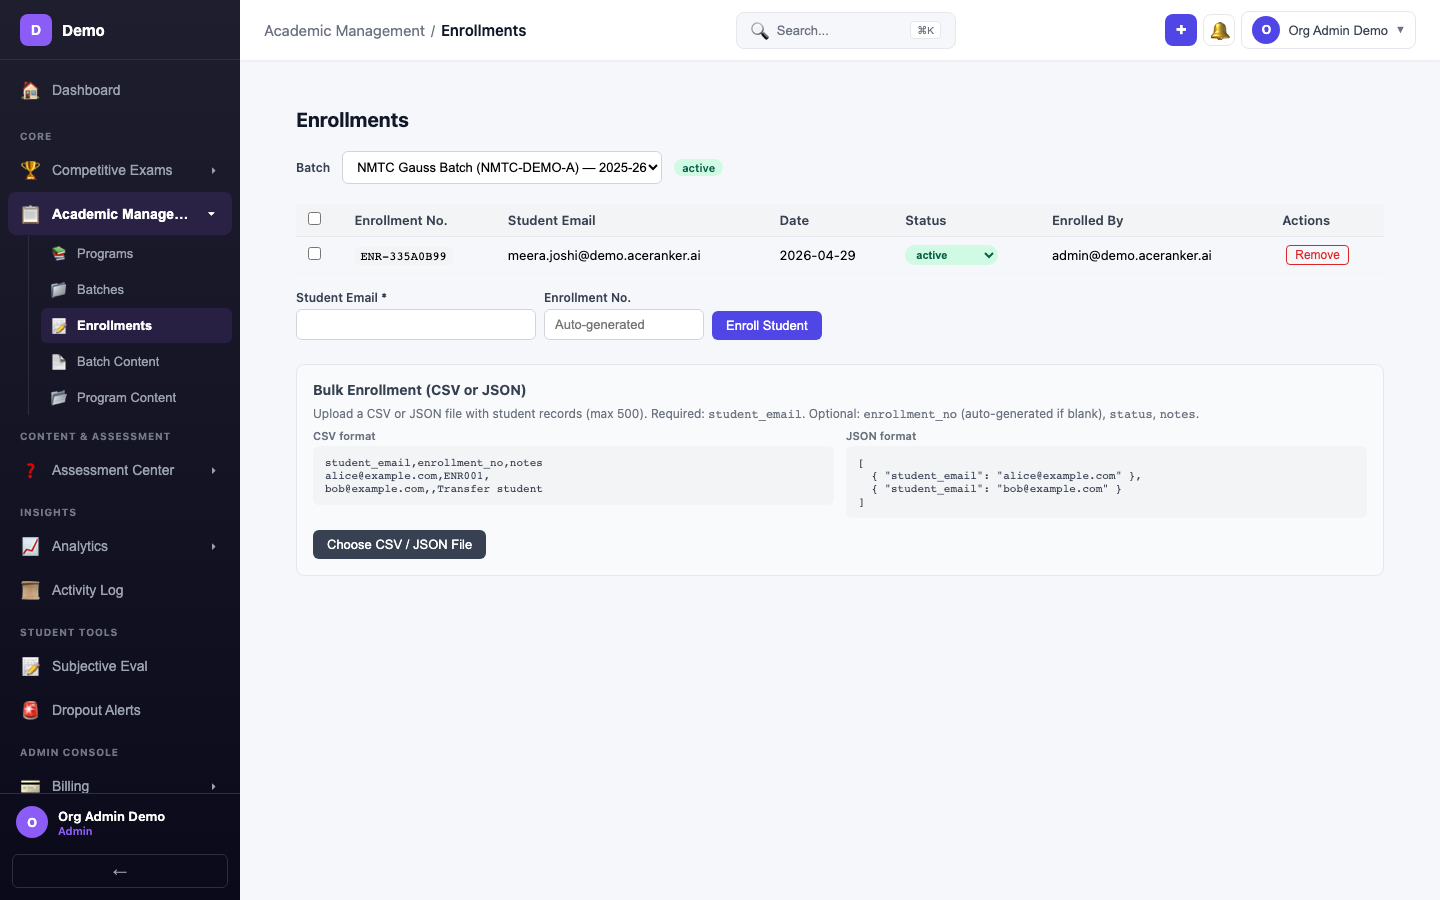
The enrollment table shows: Enrollment No., Student Email, Date, Status, Enrolled By, and Actions.
Individual Enrollment
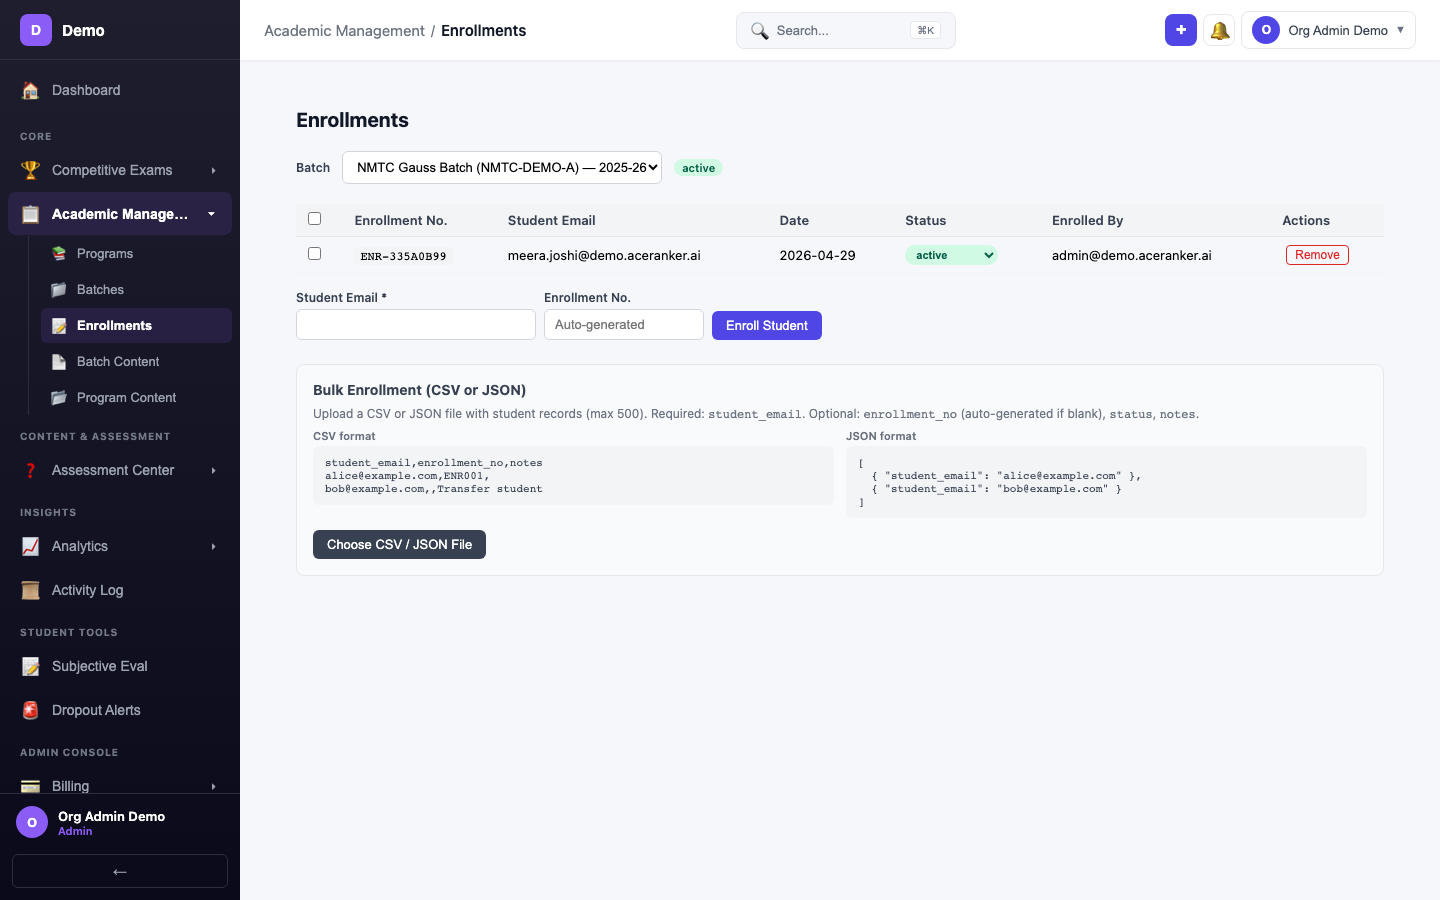
- Enter the student's email address
- Optionally set a custom enrollment number (auto-generated if blank)
- Click Enroll Student
Bulk Upload (CSV)
For enrolling multiple students at once:
- Prepare a CSV file with columns:
student_email(required),enrollment_no(optional),status,notes - Upload the file in the bulk import section
- Review the preview and click upload
Enrollment Status
| Status | Meaning |
|---|---|
| Active | Student is currently enrolled and can access content |
| Inactive | Enrollment is paused (student cannot access) |
| Dropped | Student has left the batch |
Status can be changed by clicking the status badge in the enrollment table.